Directions for Starting New MPLAB Project
From Mech
Jump to navigationJump to search- Open MPLAB IDE.
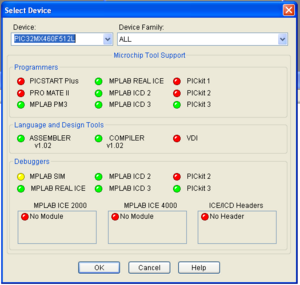
- Choose Configure>Select Device. In the Device dialog, select the PIC you are using from the list if it’s not already selected. The lights show which software is supported for that PIC.
- Choose Project>Project Wizard. Click Next
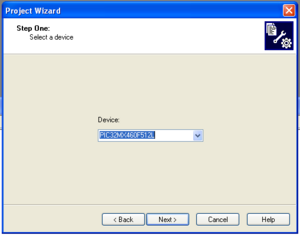
- Select the device from the drop down menu. Click Next
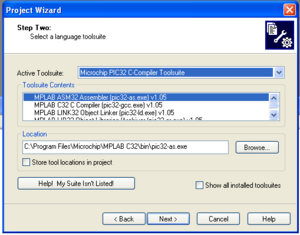
- Select the Microchip PIC32 C-Compiler Toolsuite from the drop down menu. Click Next
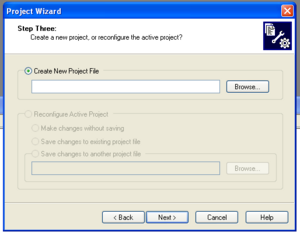
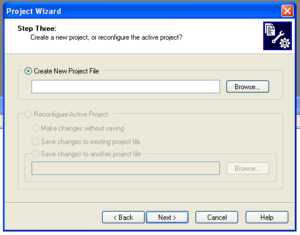
- Create a new project in the folder where you want the project and c files to be stored. Click Next
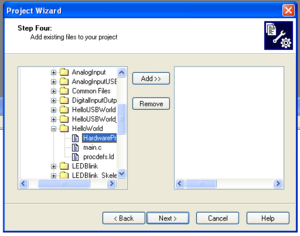
- Add the c files (if you already have some) in the folder to your project. Click Next
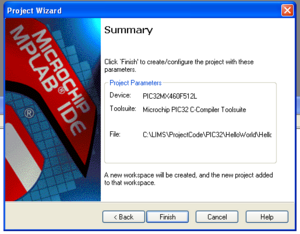
- Click Finish
The project has now been created. It will not compile because it does not know where the common header files of the Microchip Framework are located.
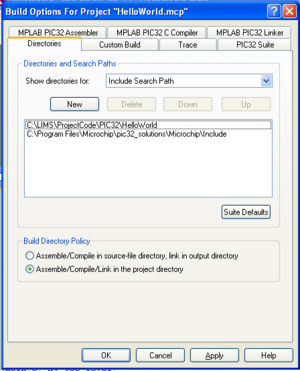
- Choose Project>Build Options>Project.
- In the directories tab, choose the Include Search Path.
- Add a New path - Browse to find the include folder (<Installation Folder> \pic32_solutions\Microchip\Include)
- Add a New path - type a period '.' (this will search the project folder)
- Click Apply and then OK
