Laser cutter
Overview
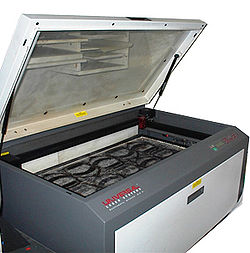
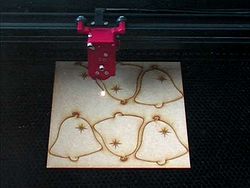
The laser cutter, available in the prototyping lab, is an extremely useful tool for quickly cutting 2-D plastic parts. The machine uses a high intensity IR laser to cut any two dimensional design out of a plastic sheet. Acrylic is by far the best material for use with the laser cutter; when acrylic is used, the tool is capable of cutting through up to a 1/2" thick piece.
The laser can be used for both cutting and etching; if the intensity is low, or the piece is thick it will only cut part way through the sheet in one pass.
If you are using a plastic other than acrylic, consult with the shop staff before cutting.
If you have never used the laser cutter before, ask for help if you encounter any problems.
Creating and Importing a File
To print to the laser cutter, a drawing must be prepared in CorelDRAW and placed on the laser cutter template, found on the desktop of the laser cutter computer. Drawing simple shapes, such as squares and circles is easy in CorelDRAW, however, for most applications with more advanced geometry it is better to use a more sophisticated CAD program. To transport the geometry from a solid modeler, such as Unigraphics, the part must be saved in a two-dimensional format, such as .dxf or .dwg. The drawing can then be imported into CorelDRAW and printed.
Creating a .DXF or .DWG
The part must first be designed in a CAD system. If using AutoCAD, the part will automatically be saved in a .dwg format. However, if you are using a solid modeler, such as UG or SolidWorks, the part will be saved as a .prt. To convert a three dimensional piece, to a two-dimensional drawing in .dxf or .dwg format, simply go to Save As ... and select the appropriate extension. This file can now be imported into CorelDRAW, where it can be printed.
Importing Files
To import the file, first open the Laser Cutter Template, found on the desktop. This is a canvass, the same size as the laser cutter's cutting area, which is used to lay out the drawing or drawings for printing. To add a .dxf or .dwg, simply gp to File -> Import and select the correct extension and browse to you desired file. The drawing can then be placed anywhere on the template. The rulers on the template correspond exactly to the rulers on the laser cutter, so if your sheet of plastic is smaller than the cutting area of the laser cutter, be sure that the drawing lies entirely within the necessary dimensions. The sheet is normally placed in the top left corner, using the rulers as a square corner, so place your drawings here.

