Resistive Touchscreen
Overview
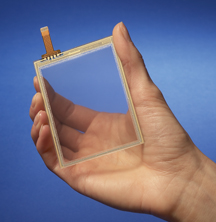
Resistive touchscreens are useful for measuring the position of an object on top of them, or as an interesting user interface feature. The Bergquist company sells them in a variety of sizes, ranging from 3.5 to 23 inches diagonal.
The 12.1 inch version was used in the Ball Balancing Challenge project. Its specifications can be found on the Bergquist website. The screens are transparent and are meant to be installed over an LCD display; however, they are also useful in a horizontal orientation (as in the "Ball Balancing Challenge" project) for sensing the position of an object resting above.
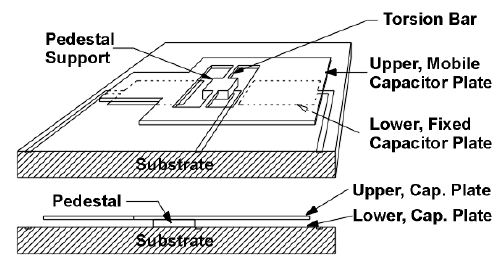
Accelerometers measure linear acceleration and also gravity; the two are indistinguishable. Thus they unavoidably function as tilt sensors as well. Inexpensive 1, 2, and 3-axis accelerometers are available which are constructed with MEMS techniques. MEMS gyroscopes are also available, for measuring angular velocity, but are more expensive.
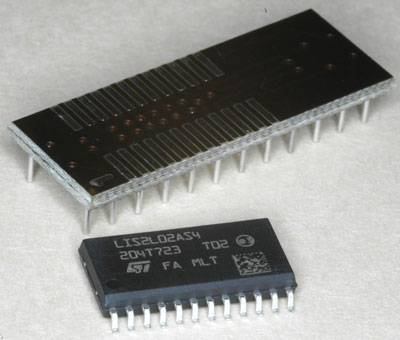
The LIS2L02AS4-TR accelerometer gives you a choice of +/-2g or +/-6g full scale. It needs only a single +5V supply. Its bandwidth is from DC to 1.5KHz. The output is usually low-pass filtered in applications which do not need the full 1.5KHz bandwidth, using an external capacitor.
The chip is available only in a surface-mount SO-24 package. Fortunately an adapter socket (Digikey A322-ND) can be used to give the chip convenient DIP-24 legs.
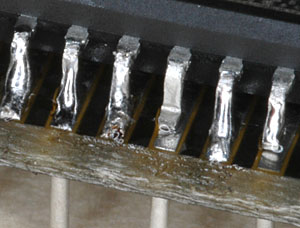
Soldering the chip into the adapter socket is a little challenging. Here are some tricks that make it easier. The more of these you can take advantage of, the easier it will be.
- Use a very fine pointed soldering iron and fine solder.
- Apply a bead of liquid flux to the pads, which will make the solder flow in between the pin and the pad enthusiastically.
- Tape the chip down onto its socket adapter.
- Have a magnifying lens or loupe available.
- Know which pins are not used.
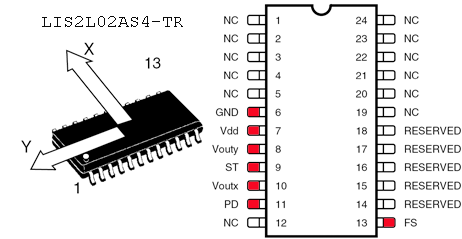
The last point is especially useful. Start with pin 1 which is NC (Not Connected), so that even if you get a solder blob connecting pins 1 & 2 that's ok. If the other pins are all aligned with their pads, pin 1's solder will now hold them there. If not, melt pin 1's solder and adjust.
Now solder only the other pins that are in use, as shown in red on the diagram. Solder one or two on the opposite edge as well, for mechanical stability.
Pins marked "reserved" should not be solder-blobbed to their neighbors because we don't know what they connect to inside the chip. Reserved is not the same thing as NC.
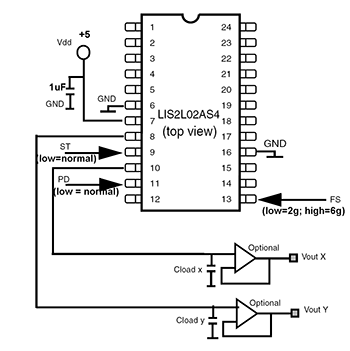
Use a supply shunt near the chip (1uF) from +5 to ground). Use low-pass filter capacitors on the outputs (called Cload in the diagram). The output impedance of the chip is 110Kohm, so a 0.1uF capacitor gives a low pass time constant of ~10mS.
Tie ST, PD low, and FS low for +/-2g full scale operation. The output voltage ranges 0-5V, well matched to PIC inputs. 2.5V is the output when acceleration is zero and and the chip is horizontal (not tilted.)
The circuit shows some optional buffer amplifiers to produce a low impedance output.
