PICkit 1
From Mech
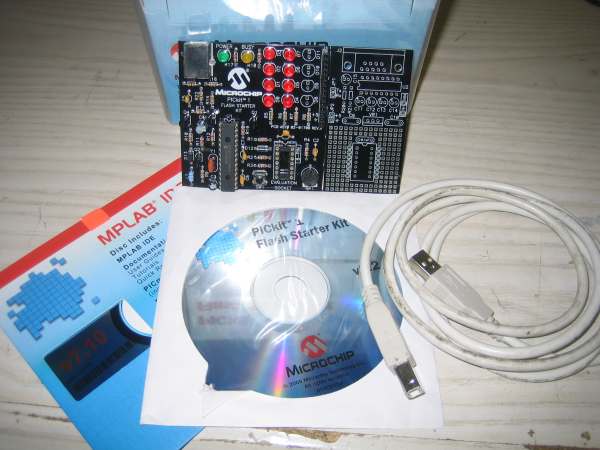
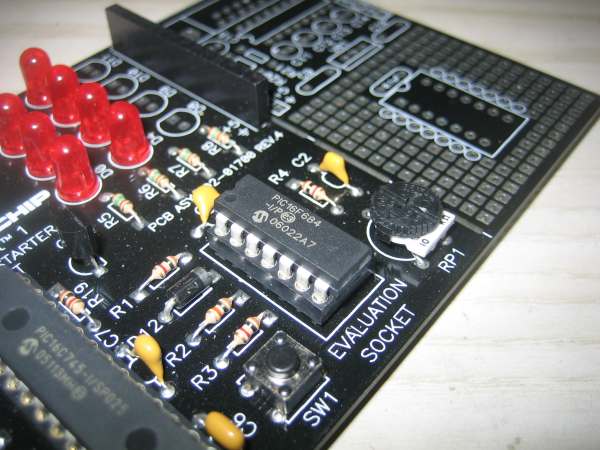
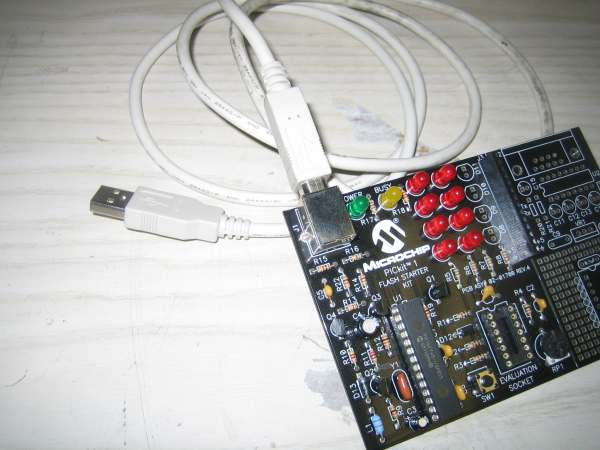
The PICkit 1 is a cheap developement board for programming PIC chips. The retail package includes the board, USB cable, driver CD and MPLAB IDE CD. These are shown below.
Installing
The first step to programming your PIC is to install the software that will interface with the PICkit through the USB port on your Windows PC.
PICkit Drivers
- Insert the PICkit 1 Flash Starter Kit CD
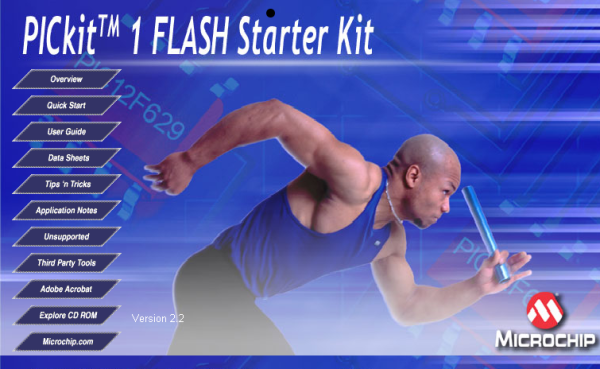
- The CD should autostart. If it doesn't, run the "AutorunPro.exe" file on the disk. You will see the screen below
- Click on "Quickstart" and begin installing the three programs listed by clicking on the links. (the default options work just fine)
- Once all three programs have been installed, remove the CD.
MPLAB IDE
- Insert the MPLAB IDE CD.
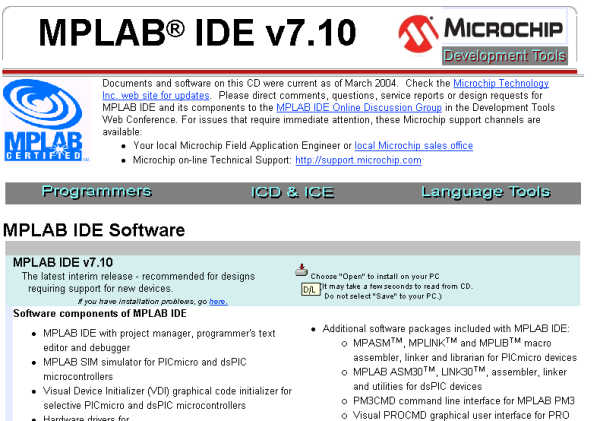
- The CD should autostart and will open a webpage
- Click the small icon next to "Choose Open to install on your PC".
- When asked for setup type, select "Custom".
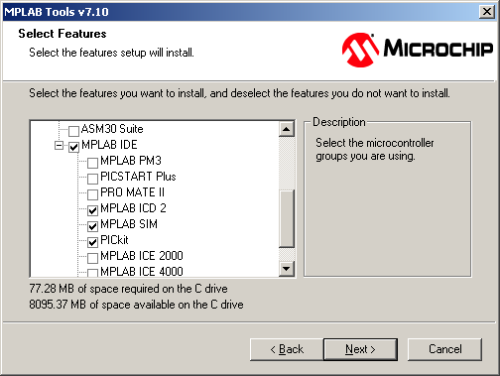
- When you reach a dialog titled "Select Features", make sure the PICkit is checked in the list.
- Finish the installation and restart the PC
Programming your PIC
Connecting to PC
- First insert your PIC chip into the PICkit board (ALWAYS DO THIS FIRST)
- Use the USB cable to connect the board to a free USB port on your PC
Using MPLAB
- Start MPLAB by opening it from the Start menu or desktop icon
- Make sure the PICkit is connected through the USB cable (there are lights on the board)
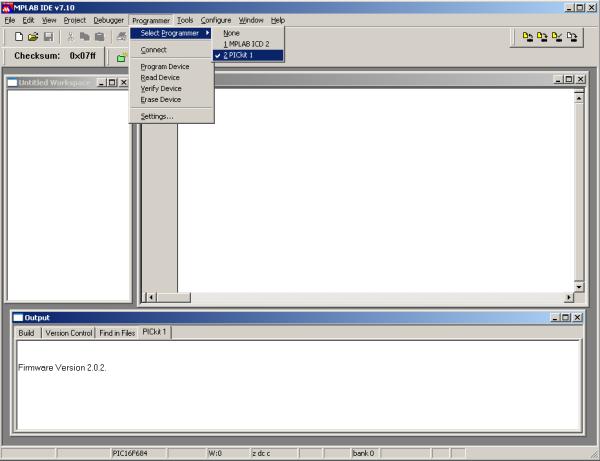
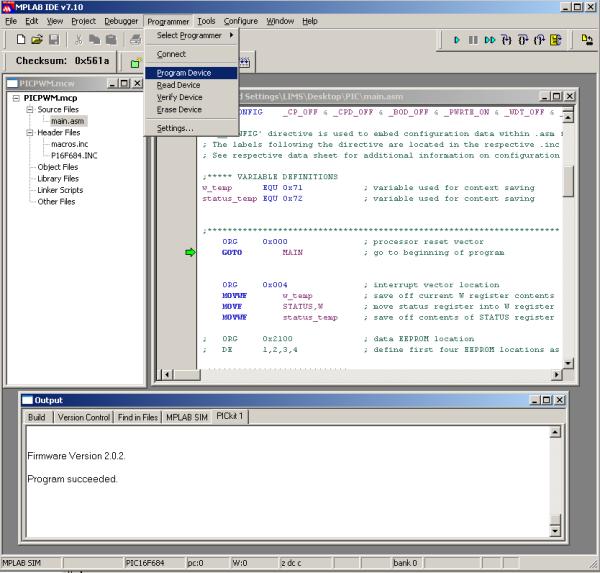
- Tell MPLAB to target the PICkit by selecting it from the Programmer menu
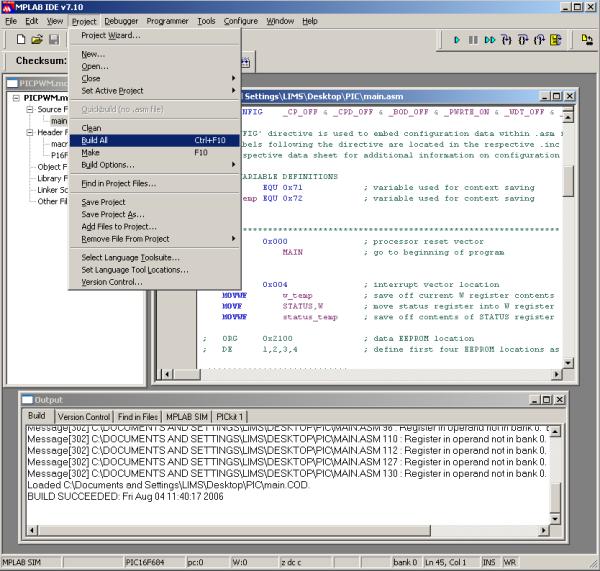
- Once you write your program or load one from somewhere else (try this program if you don't have one), you need to build the project. Select "Build All" from the Project menu.
- If the build is successful, program the chip by selecting "Program Device" from the Programmer menu.
